

Key Points to Remember
- Utilize Soggfy to effortlessly and free of charge download any track played on Spotify.
- Soggfy is a modified application that captures Spotify’s audio output and saves the music in OGG format to your device.
- While Soggfy’s auto-install feature may fail, you will typically need to perform a manual installation and configuration.
Recently, Spotify has faced considerable criticism, whether it’s for filling playlists with “ghost artists”to cut down on royalty expenses or for its continual price increases, resulting in a decline in its social standing.
Even though many loyal Spotify users remain, a significant number of music enthusiasts (and artists) are abandoning the platform. Some users are simply fed up with the limitations of streaming services. The question then arises, what will happen to your current music collection? You might contemplate migrating to Apple Music, YouTube Music, or several other platforms. However, this merely substitutes one challenge for another, leaving you without full ownership of your library.
For those comfortable navigating ethical gray areas, there are indeed methods (that aren’t torrent-related) to secure downloads of your Spotify music library directly to your computer.
Downloading Spotify Tracks for Free Using Soggfy
Important Note: The ensuing procedure capitalizes on an open-source tool, Soggfy, which carries the risk of your Spotify account being banned. However, there are preventive measures you can take. Continue reading to find out more.
Essentially, Soggfy functions as a music downloader mod specifically for the Windows version of Spotify. It captures the audio output from Spotify and saves the files in their original OGG (Vorbis) format to your system. This tool is compatible solely with Windows PCs.
Follow these steps to get started:
Step 1: Obtain Soggfy – SpotifyOggDumper
- Soggfy | GitHub Repository Link
Step 1.1: Navigate to the Soggfy GitHub page via the link provided above, and locate the most recent Releases section.
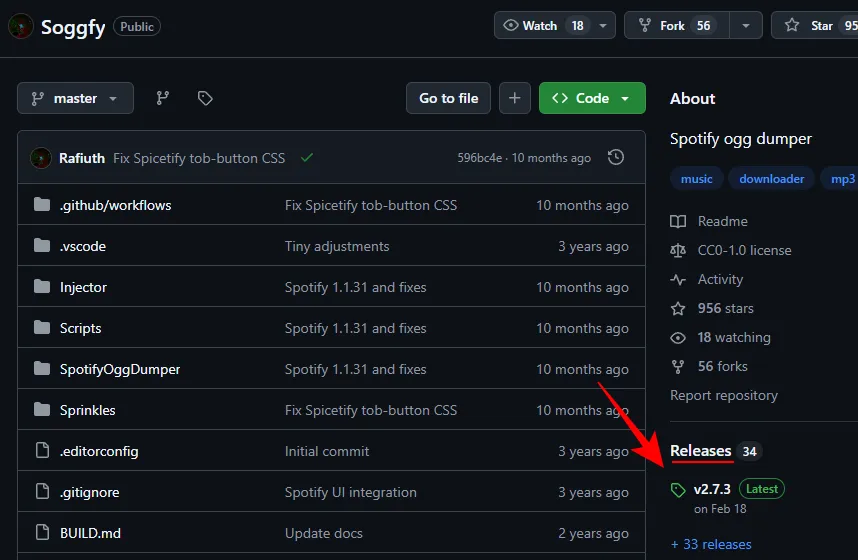
Step 1.2: Download the latest Soggfy ZIP file by clicking on it.
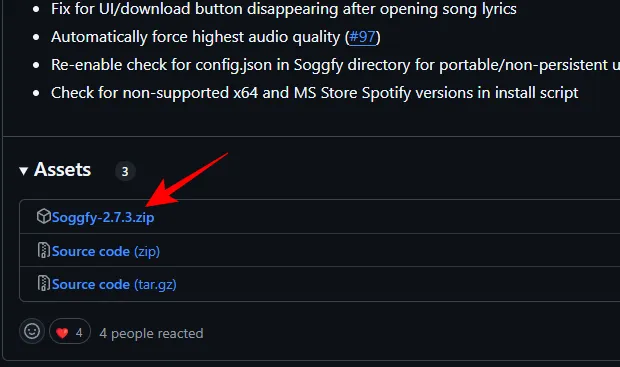
Step 1.3: After downloading, extract all files from the ZIP.

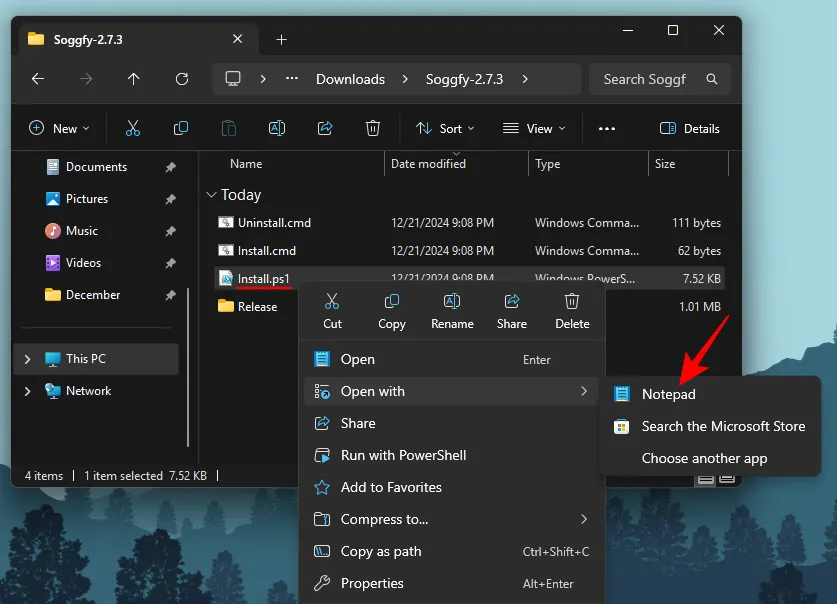
Step 1.4: Double-click the install.cmd file and allow the script to execute.
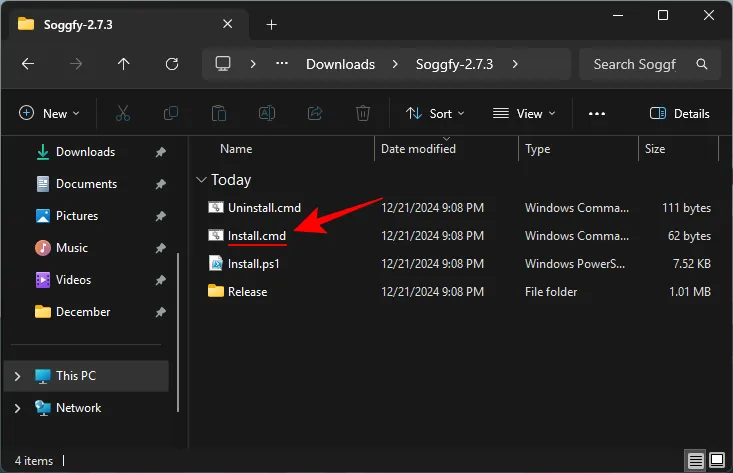
This process typically runs the script with Execution Policy Bypass, enabling automatic downloads of any tracks played on Spotify (more details in Step 7). However, if the script fails, you’ll have to proceed with Steps 2 through 6 for manual installation.
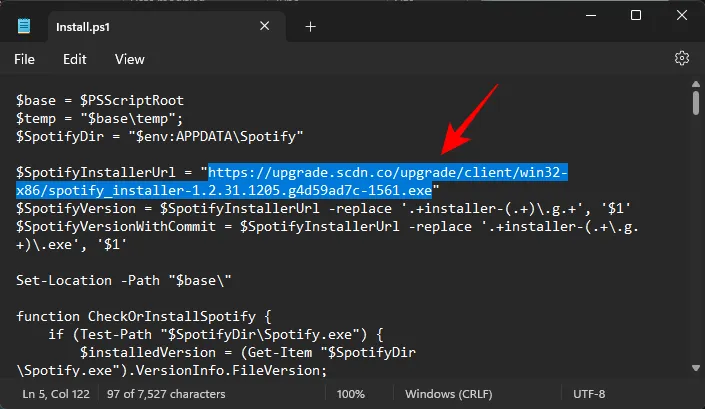
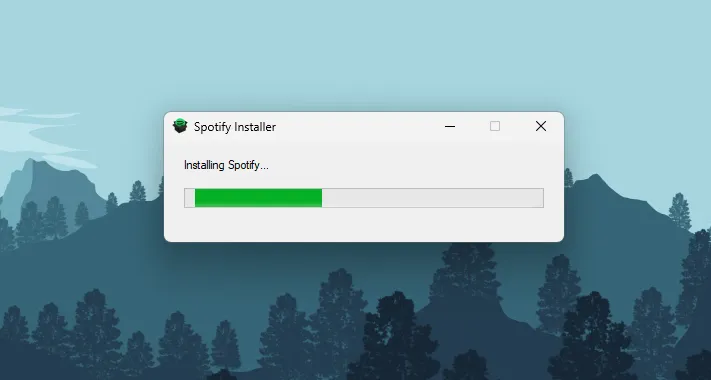
Step 2: Install the Spotify Client
Step 2.2: Look for the link to install Spotify and copy that link.
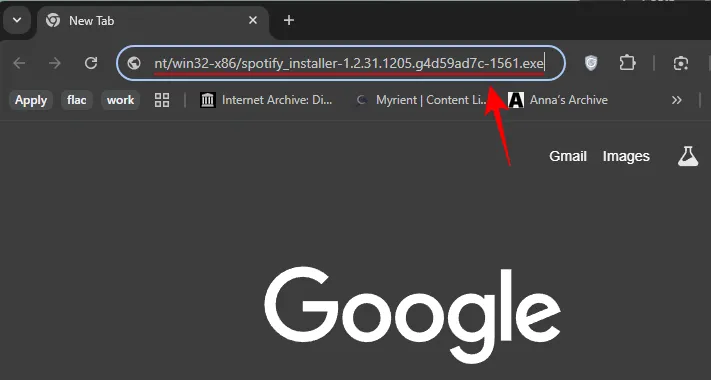
Step 2.3: Paste the link into a web browser and press Enter.
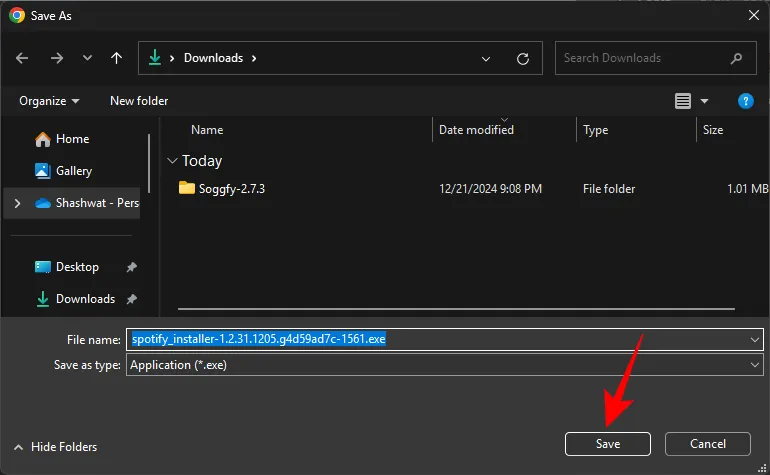
Step 2.4: Download and save the installation file.
Step 2.5: Before proceeding, uninstall any existing versions of Spotify on your system.
Step 2.6: Install Spotify using the downloaded file.
Step 3: Create a Burner Spotify Account
While it’s unlikely, there is a risk that Spotify will ban your account for abnormal activity. To safeguard your primary account, consider setting up a burner account. This temporary account will solely be used for downloads; if it gets banned, it won’t affect you.
Visit Spotify’s website to create a new account. To access the US music library, you may need to use a VPN.
Note: If you wish to download songs you’ve liked from your main account, create a new playlist and transfer all your liked songs there. Ensure that your playlists are public through Settings so they can be accessed via your new account.
Step 4: Configure Soggfy and Inject It
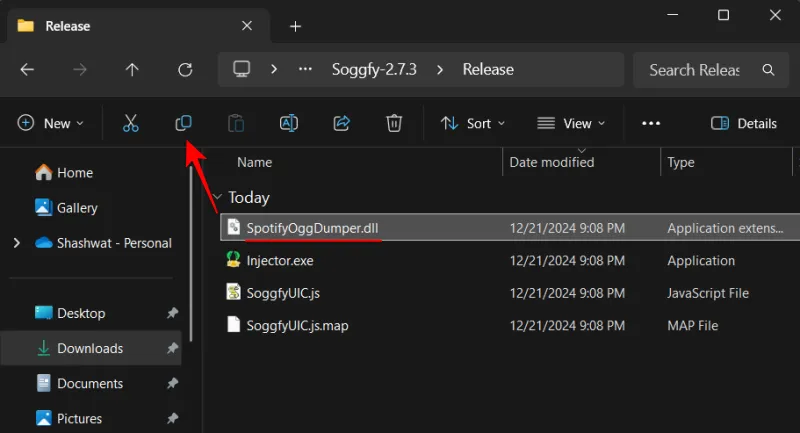
Step 4.1: In the ‘Release’ folder, copy the SpotifyOggDumper.dll file.
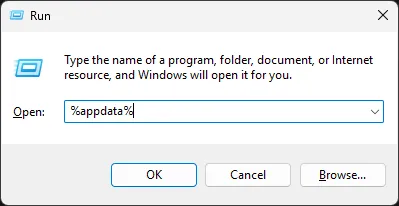
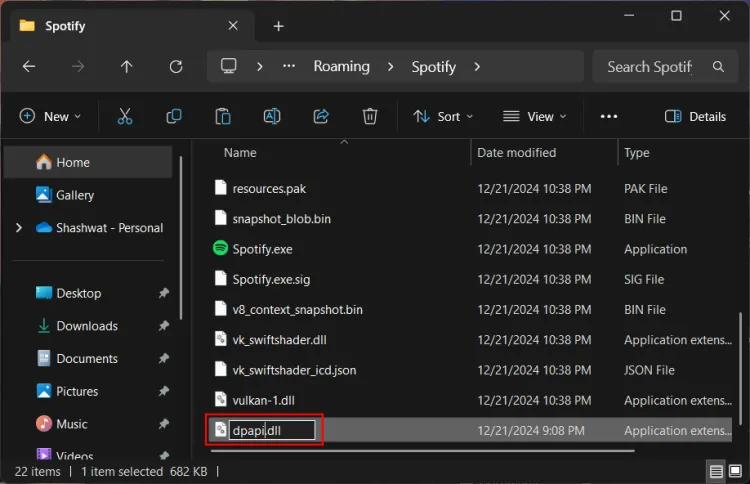
Step 4.2: Press Win+R to open the Run dialogue, enter %appdata%, and hit Enter.
Step 4.3: Locate and open the Spotify folder.
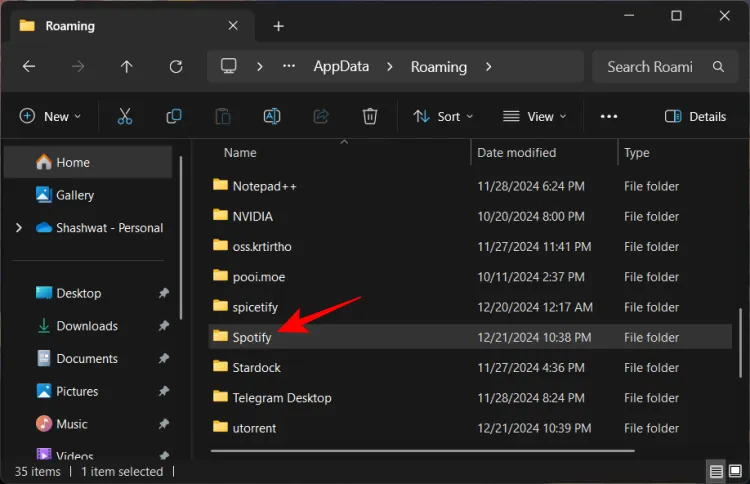
Step 4.4: Paste the SpotifyOggDumper.dll file here and rename it to dpapi.dll.
Step 4.5: Return to the ‘Release’ folder and copy the SoggfyUIC.js file.
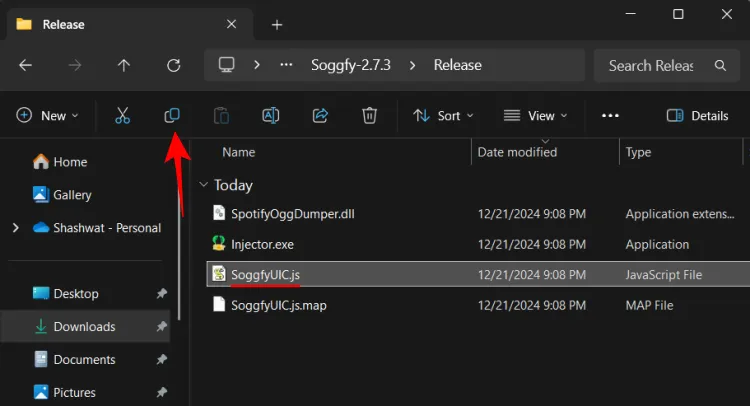
Step 4.6: Paste this file into the Spotify folder directly.

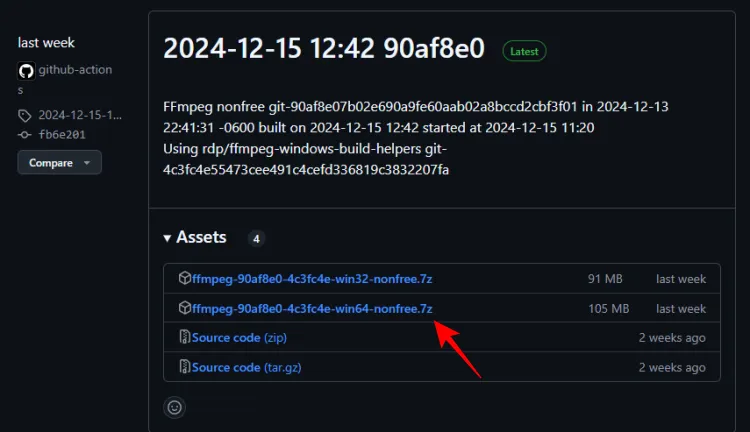
Step 5: Download and Install FFmpeg Binaries
- FFmpeg Binaries | GitHub Download Link
Step 5.1: Use the preceding link to download the FFmpeg binaries.
Step 5.2: Extract the contents of the downloaded file.
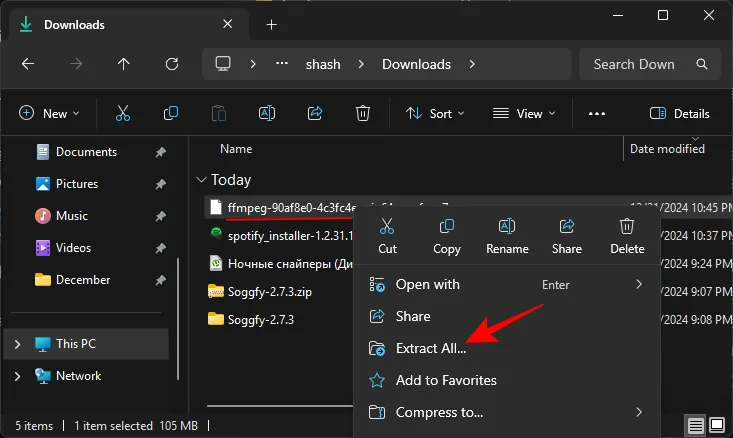
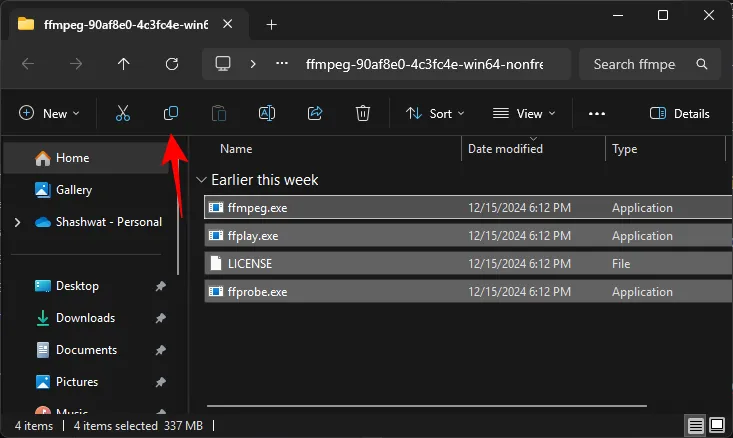
Step 5.3: Copy all the extracted files.
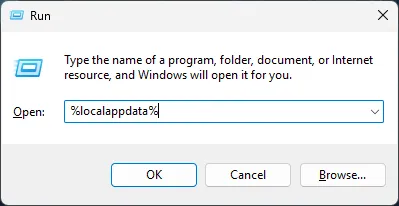
Step 5.4: Open the Run dialogue with Win+R, type %localappdata%, and press Enter.
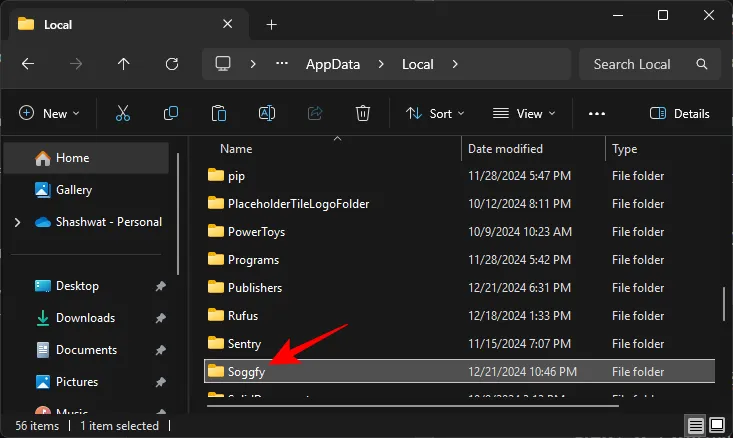
Step 5.5: Locate and open the Soggfy folder.
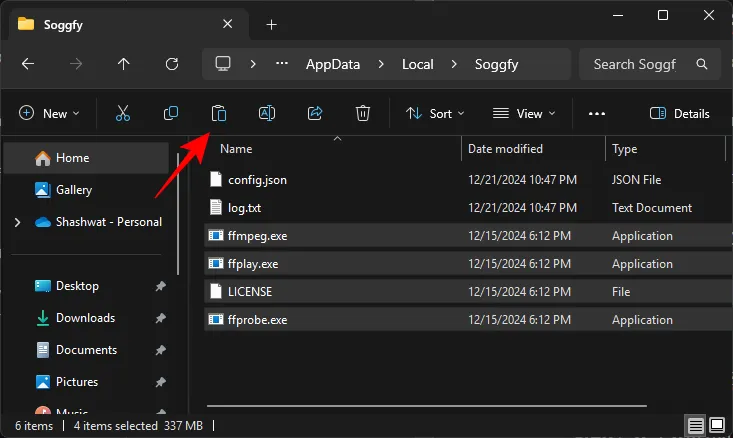
Step 5.6: Paste the FFmpeg binaries into this folder.
Step 6: Launch Soggfy and Start Spotify
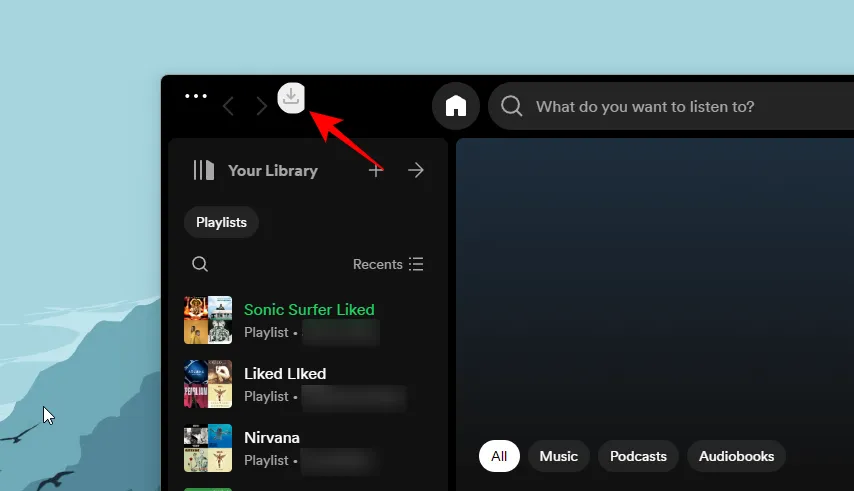
Step 6.1: Open Spotify and log into your account. You should notice a small download icon at the top left corner of the interface.
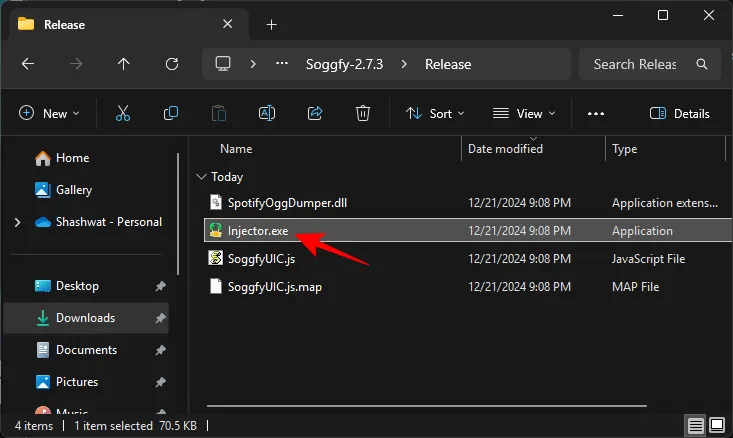
Step 6.2: If the download icon isn’t visible, go back to the ‘Release’ folder and execute Injector.exe.
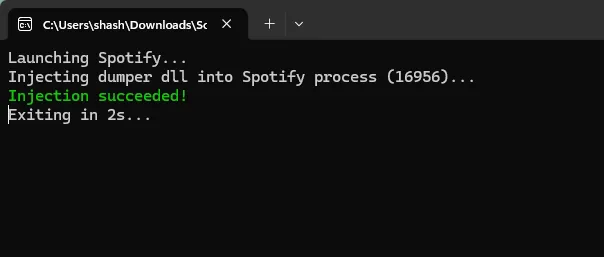
If the message Injection succeeded appears, the download icon should now be present in Spotify.
Step 7: Adjust Your Download Settings in Spotify
With the download icon visible, any song you listen to from beginning to end will be saved automatically. However, it’s prudent to tweak a few settings first.
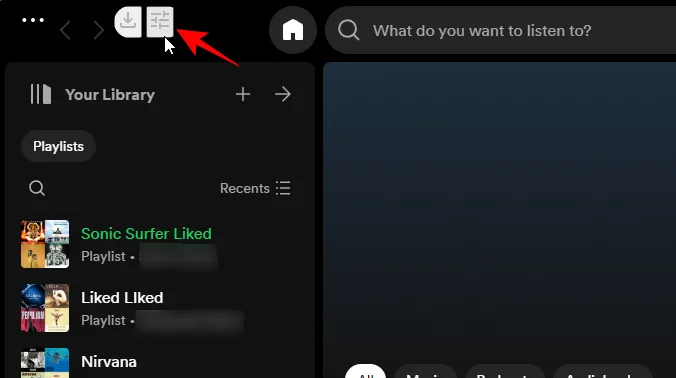
Step 7.1: Hover over the download icon to access the ‘Settings’ option, then click it.
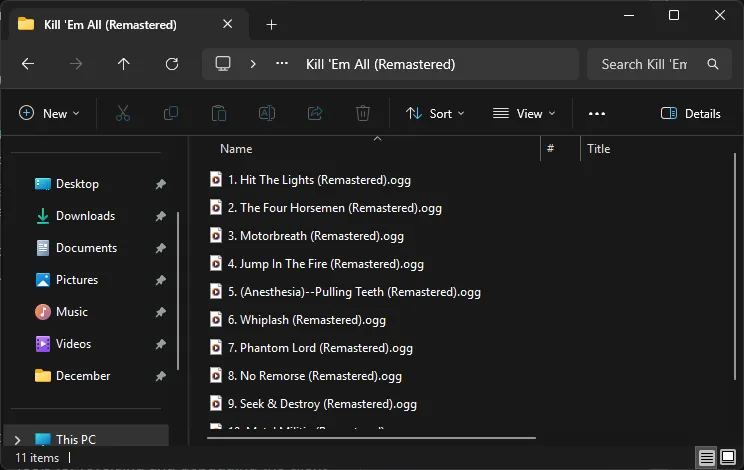
Step 7.2: Under ‘Paths’, specify the destination folder for your downloaded songs.

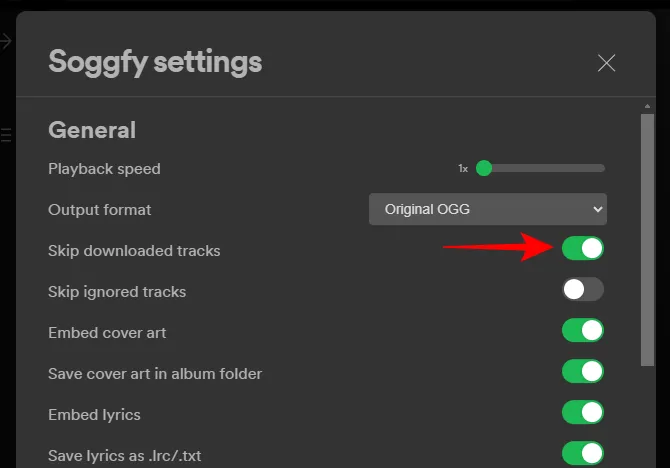
Step 7.3: Make sure to activate the Skip downloaded tracks option under ‘General’. This prevents downloading duplicate tracks during streaming.
Keep in mind that a song needs to be played entirely for it to be downloaded. While you can pause playback, seeking through tracks isn’t allowed.
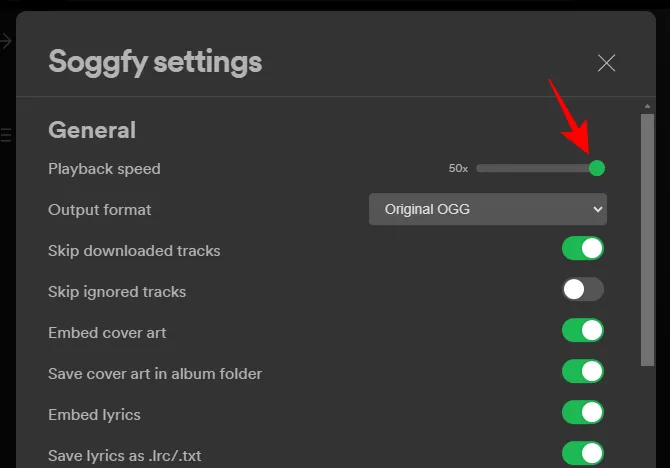
If you wish to expedite the downloading of multiple tracks, consider increasing the Playback speed.
Step 8: Stream and Let the Downloads Begin
With everything set up, you can now begin playing any album, artist, or playlist of your choice. If you’re utilizing a burner account, visit your main account’s profile to play your saved playlists.
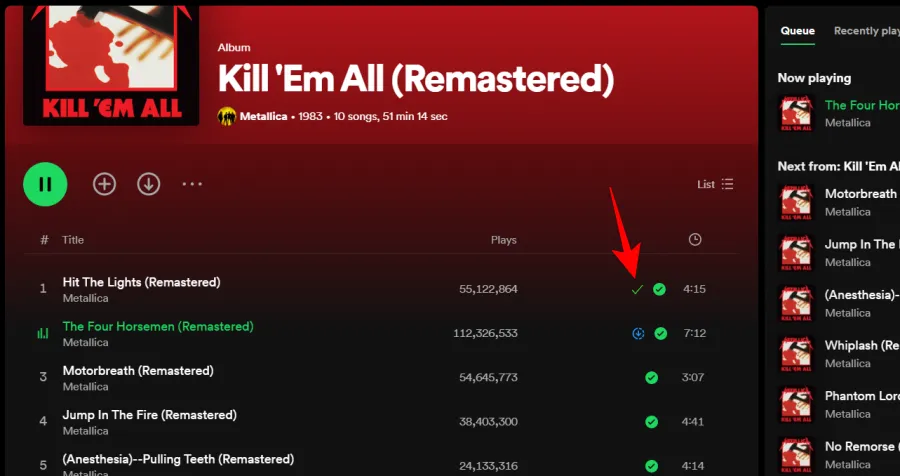
Each song will download individually, and once saved, a small green tick will appear next to it.
The quickest method to download all your music is to select a song, add all desired songs, albums, and playlists to the queue, and they will download automatically.
If a song fails to download, a small cross will appear next to it.

Should this issue arise repeatedly, simply restart Spotify and resume playback.
That’s it! From now on, any track you fully listen to on Spotify will download automatically. You can disable this feature by clicking on the download icon until a slash appears across it (indicating it’s disabled).
Be aware that if Spotify releases updates, this functionality might cease to operate. Thus, it’s advisable to prevent the Spotify client from updating, or refer back to the steps above to restore functionality to your working Spotify client.